No Yeast? No Problem. The 4-Ingredient Bread Ready in an Hour
No Yeast? No Problem. The 4-Ingredient Bread Ready In An Hour
The aroma of freshly baked bread is one of life’s simplest pleasures, yet the thought of working with yeast—the proofing, the rising, the kneading—can feel intimidating and time-consuming. What if you could have a warm, crusty loaf on your table without any of it? This recipe is the answer. It’s a culinary miracle for the modern kitchen, relying on just four pantry staples to create a wonderfully rustic and satisfying bread in under an hour. Perfect for last-minute dinner accompaniments, a comforting snack, or for anyone who has simply run out of yeast, this recipe proves that incredible bread can be incredibly simple.
10 minutes
45-50 minutes
1 hour
1 round loaf (serves 8-10)
Bread
Baking
Irish / American
Vegetarian
Why You’ll Love This Recipe
- Requires only 4 basic pantry ingredients.
- Completely yeast-free, no proofing or rising time needed.
- Ready from start to finish in less than 60 minutes.
- A foolproof recipe that’s perfect for novice bakers.
- Achieves a deliciously crisp, golden-brown crust with a soft, tender crumb.
Equipment You’ll Need
- Large mixing bowl
- Whisk or large fork
- Baking sheet
- Parchment paper
- Sharp knife
- Wire cooling rack
Ingredients
- 4 cups (500g) all-purpose flour, plus extra for dusting
- 2 teaspoons baking soda
- 1 1/2 teaspoons kosher salt
- 1 3/4 cups (420ml) buttermilk
Instructions
- Preheat your oven to 400°F (200°C). Line a baking sheet with parchment paper.
- In a large mixing bowl, whisk together the 4 cups of all-purpose flour, baking soda, and kosher salt. This ensures the leavening agent is evenly distributed, which is key for a good rise.
- Pour the buttermilk into the dry ingredients. Use a fork or your hands to mix until a shaggy, sticky dough forms. Do not overmix; stop as soon as there are no dry patches of flour left.
- Turn the dough out onto a lightly floured surface. Gently knead it just 3 or 4 times to bring it together into a ball. The dough will be slightly sticky.
- Shape the dough into a round, slightly flattened disc about 1.5 to 2 inches thick. Place it on the prepared baking sheet.
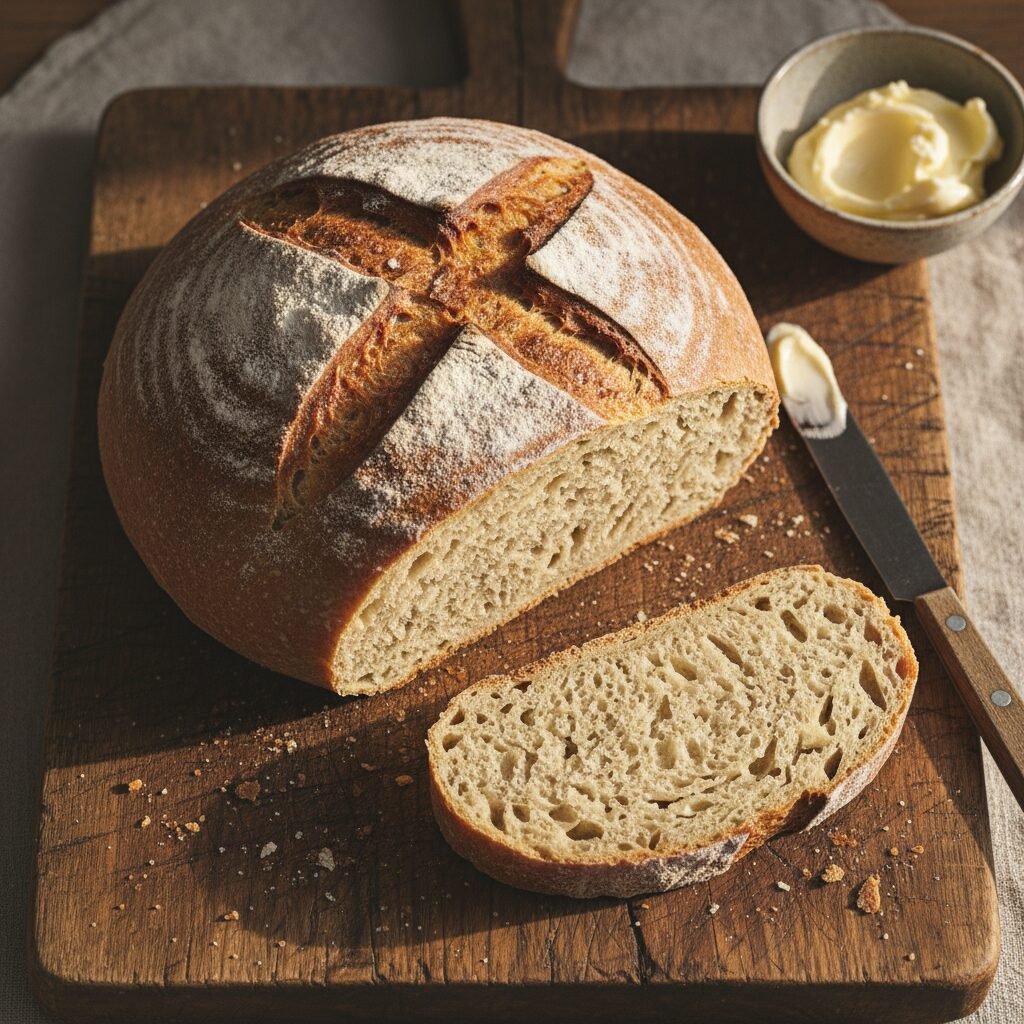
- Using a very sharp knife, score the top of the loaf with a deep ‘X’, cutting about half an inch deep. This allows the center of the bread to cook through.
- Bake for 45-50 minutes, or until the loaf is golden brown and sounds hollow when you tap the bottom.
- Transfer the bread to a wire cooling rack and let it cool for at least 30 minutes before slicing. This allows the crumb to set properly.
Expert Cooking Tips
- Don’t Overmix: The number one rule for quick breads is to handle the dough as little as possible. Overmixing develops gluten, which will result in a tough, dense loaf instead of a tender one.
- Measure Flour Correctly: For best results, spoon flour into your measuring cup and level it off with a straight edge. Scooping directly from the bag compacts the flour, leading to a dry dough.
- Work Quickly: The chemical reaction between the baking soda and the acidic buttermilk begins immediately. For the best possible rise, shape your loaf and get it into the preheated oven as quickly as possible after mixing.
- Trust the Tap Test: The surest way to know if your bread is done is the sound test. Carefully remove it from the oven, flip it over (using an oven mitt), and give the bottom a firm tap. A hollow sound means it’s cooked through.
Substitutions and Variations
No buttermilk? No problem. You can easily make a substitute by adding 1 3/4 tablespoons of white vinegar or lemon juice to 1 3/4 cups of regular milk. Let it stand for 5-10 minutes to curdle before using. For a heartier loaf, you can substitute up to half of the all-purpose flour with whole wheat flour. Note that this will create a denser bread.
Common Mistakes to Avoid
The most common mistake is overworking the dough. This recipe requires a light touch; mix only until the ingredients are just combined. Another pitfall is using old baking soda. If your leavening agent is expired, the bread will not rise properly. Finally, cutting into the bread while it’s still hot can result in a gummy texture; allowing it to cool on a wire rack is a crucial step for the perfect crumb.
Serving Suggestions
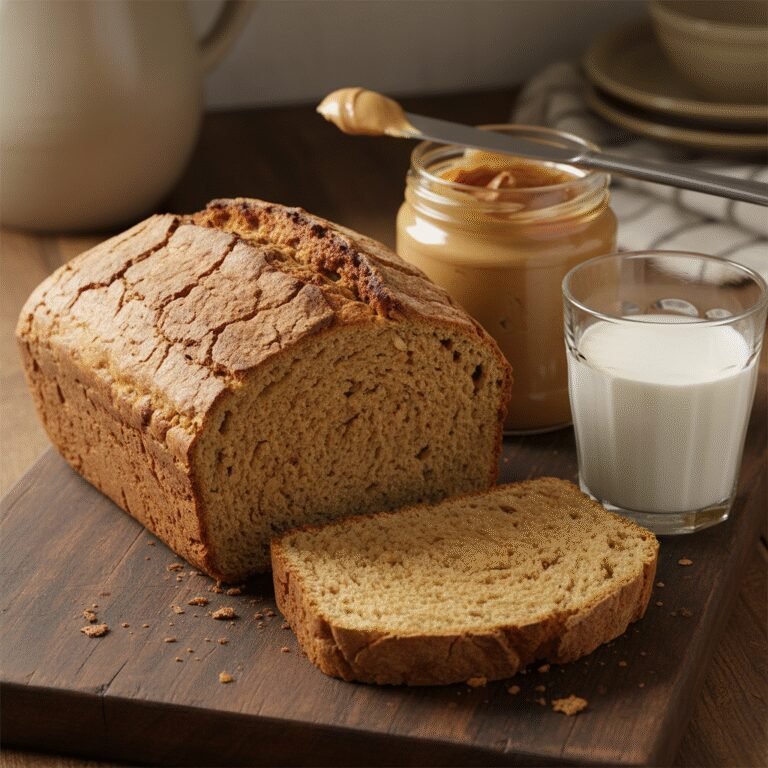
This bread is incredibly versatile. Serve it warm from the oven with a generous spread of salted butter. It’s the perfect vessel for soaking up hearty soups, stews, and chilis. Toast a slice for a delightful breakfast topped with jam or avocado, or use it to build a rustic sandwich with sharp cheddar and ham.
Storage and Reheating Tips
To maintain its wonderful crust, store the bread at room temperature in a paper bag or a bread box for up to 3 days. Avoid plastic bags, which trap moisture and make the crust soft. For longer-term storage, slice the entire loaf, place it in a freezer-safe bag, and freeze for up to 3 months. You can toast slices directly from frozen.
Nutrition Facts (Estimated)
| Serving Size | 1 slice (1/8th of loaf) |
| Calories | 175 kcal |
| Fat | 1.5g |
| Saturated Fat | 1g |
| Unsaturated Fat | 0.5g |
| Trans Fat | 0g |
| Cholesterol | 5mg |
| Sodium | 410mg |
| Carbohydrates | 34g |
| Fiber | 1g |
| Sugar | 2g |
| Protein | 6g |
Frequently Asked Questions
Can I add herbs, cheese, or other flavorings?
Absolutely. This is a fantastic base recipe. Try adding 1/2 cup of shredded cheddar, 2 tablespoons of chopped fresh herbs like rosemary or chives, or even a handful of seeds like caraway or sunflower to the dry ingredients before mixing.
My dough seems very wet and sticky. Is that right?
Yes, a sticky, shaggy dough is exactly what you’re looking for. It may seem difficult to handle, but this high moisture content is what creates a tender, moist crumb. Use just enough flour on your hands and work surface to shape it without it sticking excessively.
Can I use baking powder instead of baking soda?
While baking soda and buttermilk are the classic combination, you can substitute. Use 2 tablespoons of baking powder in place of the baking soda. If you do this, you can use regular milk instead of buttermilk, as baking powder does not require an external acid to activate.
Conclusion
You’ve just discovered the secret to effortless, homemade bread. This 4-ingredient, no-yeast recipe demystifies the baking process, delivering a rustic, flavorful loaf that tastes like it took hours to prepare. It’s a game-changer for busy weeknights, a lifesaver when the pantry is bare, and a delightful project for bakers of all skill levels. Embrace the simplicity, enjoy the process, and savor every last crumb.