Kid-Approved Chickpea Nuggets: The Healthy McNugget Alternative
Kid-Approved Chickpea Nuggets: The Healthy McNugget Alternative
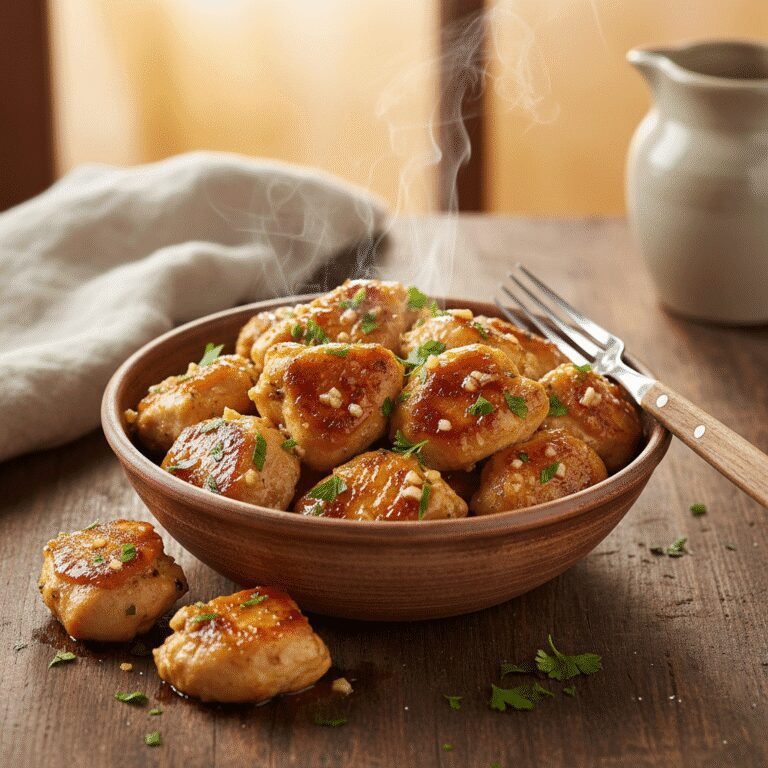
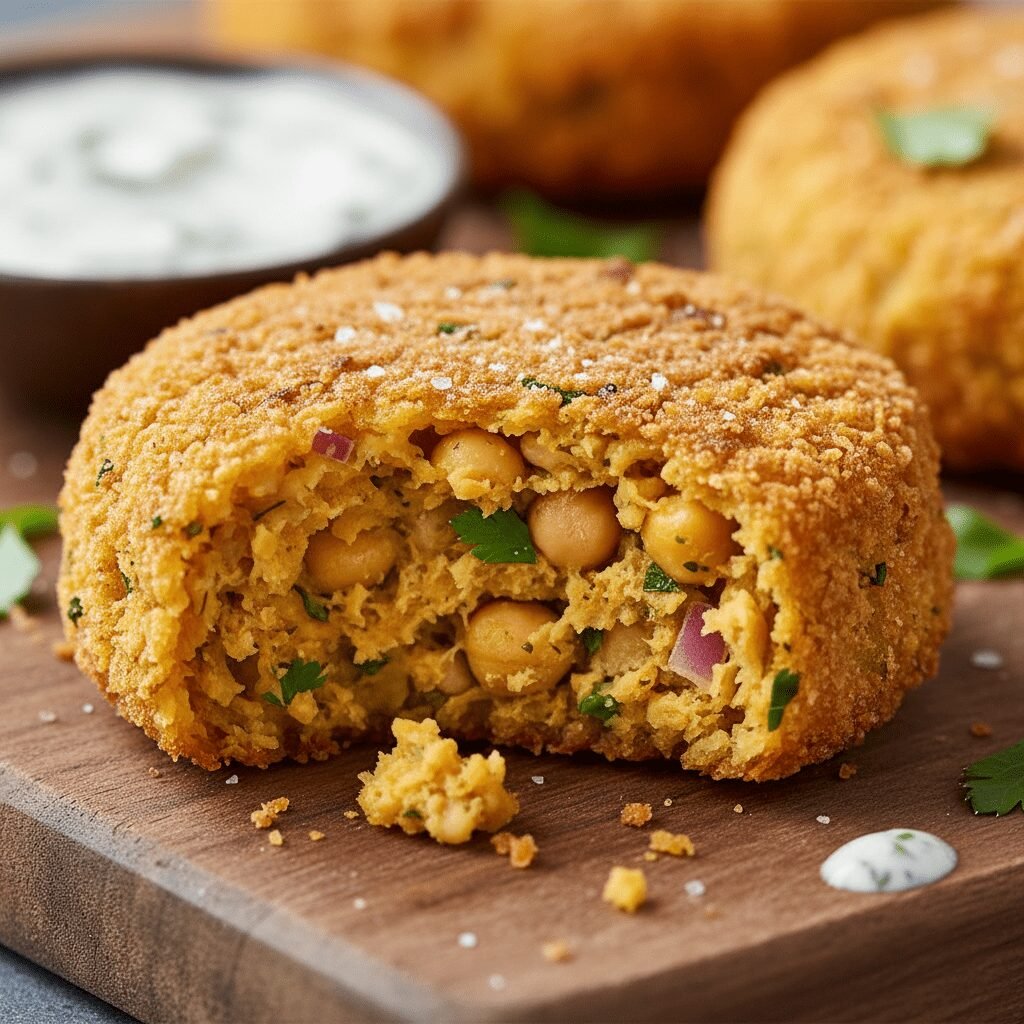
Say goodbye to processed chicken nuggets and hello to these wholesome, homemade chickpea nuggets! They’re crispy on the outside, tender on the inside, and packed with plant-based goodness that even the pickiest eaters will adore. Get ready to make mealtime a joyful, nutritious adventure!
20 minutes
25 minutes
45 minutes
Approximately 24 nuggets (4-6 servings)
Main Dish, Appetizer
Baking, Air Frying
American (with Middle Eastern influence)
Vegetarian, Vegan (if using vegan breadcrumbs), Dairy-Free, Egg-Free
Oh, sweet mamas, do you ever feel like you’re constantly battling the ‘nugget monster’ at dinner time? I know I do! It seems like every kid, mine included, goes through that phase where all they want are those golden, crispy, oh-so-convenient chicken nuggets. And while there’s certainly a time and a place for a quick meal, my heart always yearns for something a little more wholesome, a little more homemade, and a lot more packed with nutrients. That’s where these incredible Kid-Approved Chickpea Nuggets come into play! Imagine a world where your little ones are happily munching on something that tastes familiar and delicious, yet is secretly brimming with fiber, protein, and all sorts of plant-based goodness. This recipe isn’t just about making a meal; it’s about making a memory, a healthier choice, and a happy tummy. We’re talking about a game-changer, friends. These aren’t just ‘good for chickpea nuggets’; these are genuinely, unbelievably, ‘I can’t believe they’re not chicken’ delicious! They’re perfectly seasoned, wonderfully crispy, and so easy to whip up, you’ll wonder why you ever reached for the freezer bag. So, grab your apron, put on your favorite playlist, and let’s dive into creating a meal that will make both you and your kiddos smile from ear to ear.
History & Origins
While the concept of breaded and fried bites of food has been around for centuries across various cultures, the modern ‘nugget’ as we know it really took off with the advent of fast food in the mid-20th century. Chicken nuggets became a staple, beloved for their convenience and kid-friendly appeal. However, as our understanding of nutrition grew and dietary preferences evolved, people began seeking healthier, plant-based alternatives. The humble chickpea, a powerhouse of nutrition and versatility, naturally stepped into the spotlight. From falafel to hummus, chickpeas have long been a cornerstone of Mediterranean and Middle Eastern cuisines. Adapting them into a ‘nugget’ form is a relatively recent innovation, born from the desire to recreate that familiar texture and flavor profile using whole, plant-based ingredients. This recipe is a testament to how traditional ingredients can be reimagined to fit modern, health-conscious lifestyles, offering a delicious and guilt-free twist on a classic comfort food.
Why This Recipe Works
The magic behind these chickpea nuggets lies in a few key culinary principles. Firstly, the chickpeas themselves, when mashed, provide a fantastic base that mimics the texture of ground meat, especially when combined with a binder like flour or breadcrumbs. The starchiness of the chickpeas helps them hold their shape beautifully. Secondly, the combination of spices—garlic powder, onion powder, paprika, and a touch of nutritional yeast—is crucial. Nutritional yeast, in particular, lends a savory, cheesy, umami flavor that is often associated with comfort foods and helps to round out the flavor profile, making them incredibly appealing, especially to kids. The breading, typically panko breadcrumbs, is essential for achieving that signature crispy exterior. Panko is lighter and flakier than regular breadcrumbs, resulting in a superior crunch. Finally, baking or air frying rather than deep-frying allows for a healthier preparation method while still achieving a wonderfully golden and crispy finish, thanks to the oil spray that helps the breading crisp up and brown.
Why You’ll Love This Recipe
- ✓A fantastic plant-based alternative to traditional chicken nuggets.
- ✓Crispy on the outside, tender and flavorful on the inside.
- ✓Packed with fiber and protein for sustained energy.
- ✓Super easy to make with simple, wholesome ingredients.
- ✓Perfect for meal prep, lunchboxes, or a quick weeknight dinner.
- ✓Customizable with your family’s favorite seasonings.
Equipment You’ll Need
- ✓Food processor
- ✓Large mixing bowl
- ✓Baking sheet
- ✓Parchment paper
- ✓Air fryer (optional)
- ✓Measuring cups and spoons
- ✓Fork or potato masher
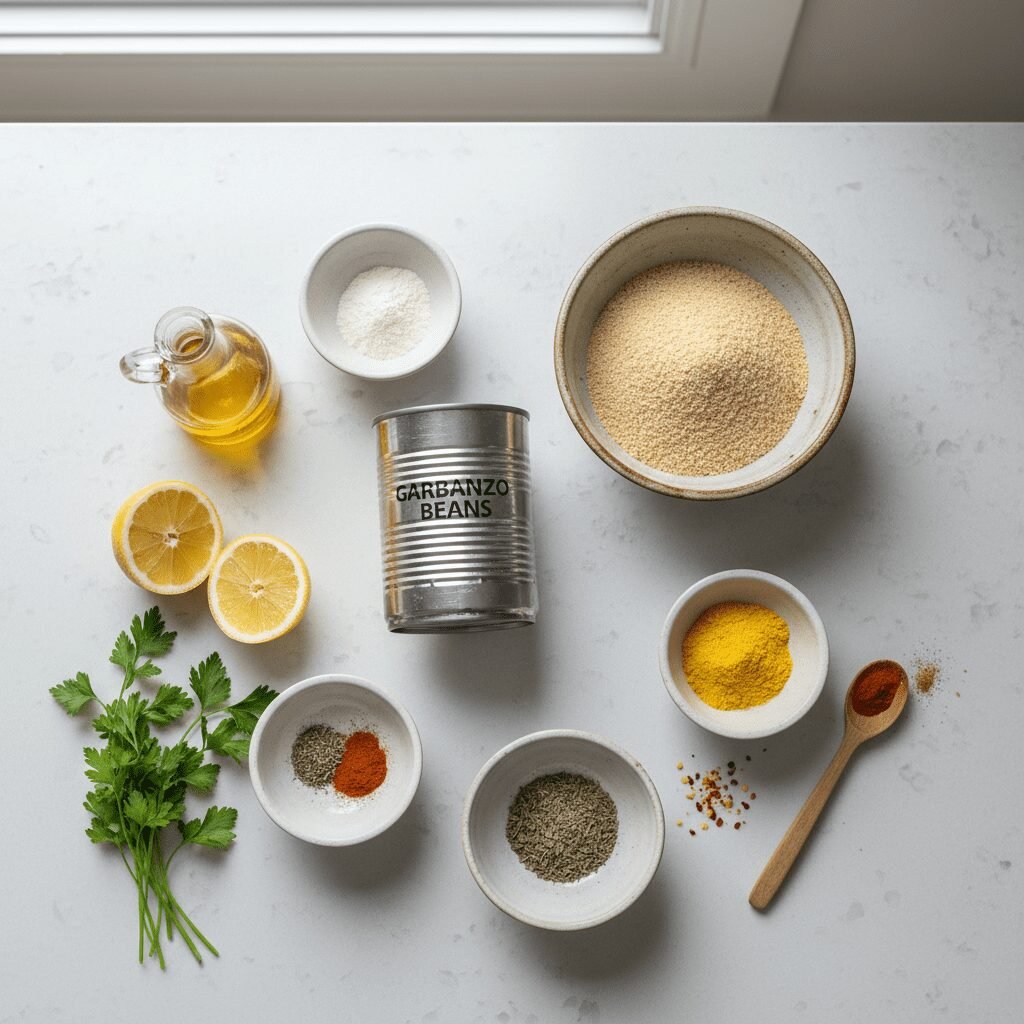
Ingredients
- ✓2 cans (15 oz each) chickpeas, rinsed and drained
- ✓1/2 cup panko breadcrumbs, plus 1 cup for coating
- ✓1/4 cup all-purpose flour (or gluten-free flour blend)
- ✓2 tablespoons nutritional yeast
- ✓1 teaspoon garlic powder
- ✓1 teaspoon onion powder
- ✓1/2 teaspoon smoked paprika
- ✓1/4 teaspoon black pepper
- ✓1/2 teaspoon salt (or to taste)
- ✓2 tablespoons olive oil, plus more for spraying
- ✓2 tablespoons water (or vegetable broth), if needed
Instructions
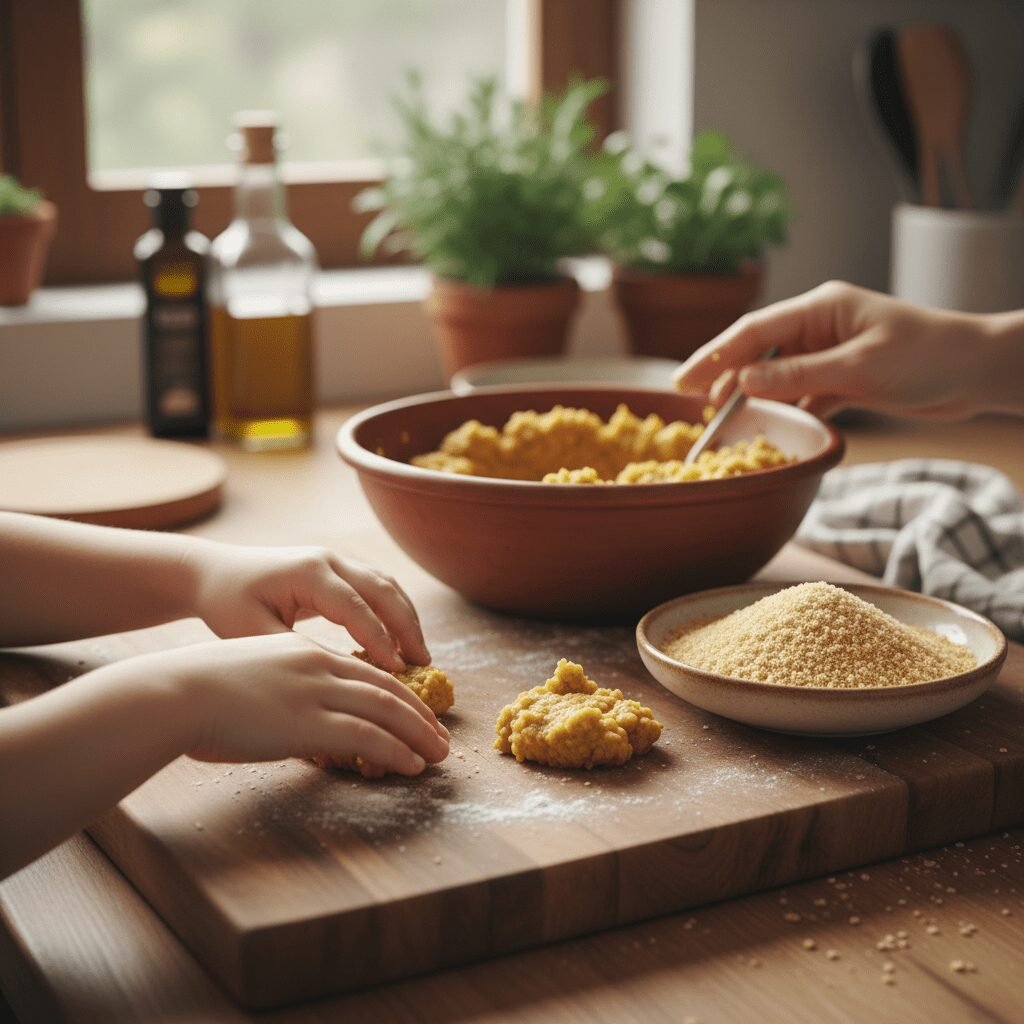
- Prepare the Chickpea Mixture: In a food processor, combine the rinsed and drained chickpeas. Pulse a few times until mostly mashed but still with some texture. Be careful not to over-process into a smooth paste.
- Transfer the mashed chickpeas to a large mixing bowl. Add 1/2 cup panko breadcrumbs, all-purpose flour, nutritional yeast, garlic powder, onion powder, smoked paprika, black pepper, and salt. Add 2 tablespoons of olive oil.
- Mix and Adjust: Use your hands or a sturdy spoon to thoroughly mix all the ingredients until well combined. The mixture should be firm enough to form into shapes. If it feels too dry and crumbly, add water or vegetable broth, one tablespoon at a time, until it comes together. If it’s too wet, add a little more flour or panko.
- Form the Nuggets: Place the remaining 1 cup of panko breadcrumbs in a shallow dish. Take about 1-2 tablespoons of the chickpea mixture and roll it into a nugget shape (oval or round, whatever your little ones prefer!). Gently press and shape it to ensure it holds together. Roll each nugget in the panko breadcrumbs, pressing gently to coat evenly on all sides.
- Bake or Air Fry:
- For Baking: Preheat your oven to 400°F (200°C). Line a baking sheet with parchment paper. Arrange the coated nuggets in a single layer on the prepared baking sheet, ensuring they don’t touch. Lightly spray the tops of the nuggets with olive oil or cooking spray. Bake for 20-25 minutes, flipping halfway through, until golden brown and crispy.
- For Air Frying: Preheat your air fryer to 375°F (190°C). Lightly spray the air fryer basket with cooking spray. Arrange the coated nuggets in a single layer in the basket, working in batches if necessary to avoid overcrowding. Lightly spray the tops of the nuggets with olive oil or cooking spray. Air fry for 12-15 minutes, shaking the basket or flipping halfway through, until golden brown and crispy.
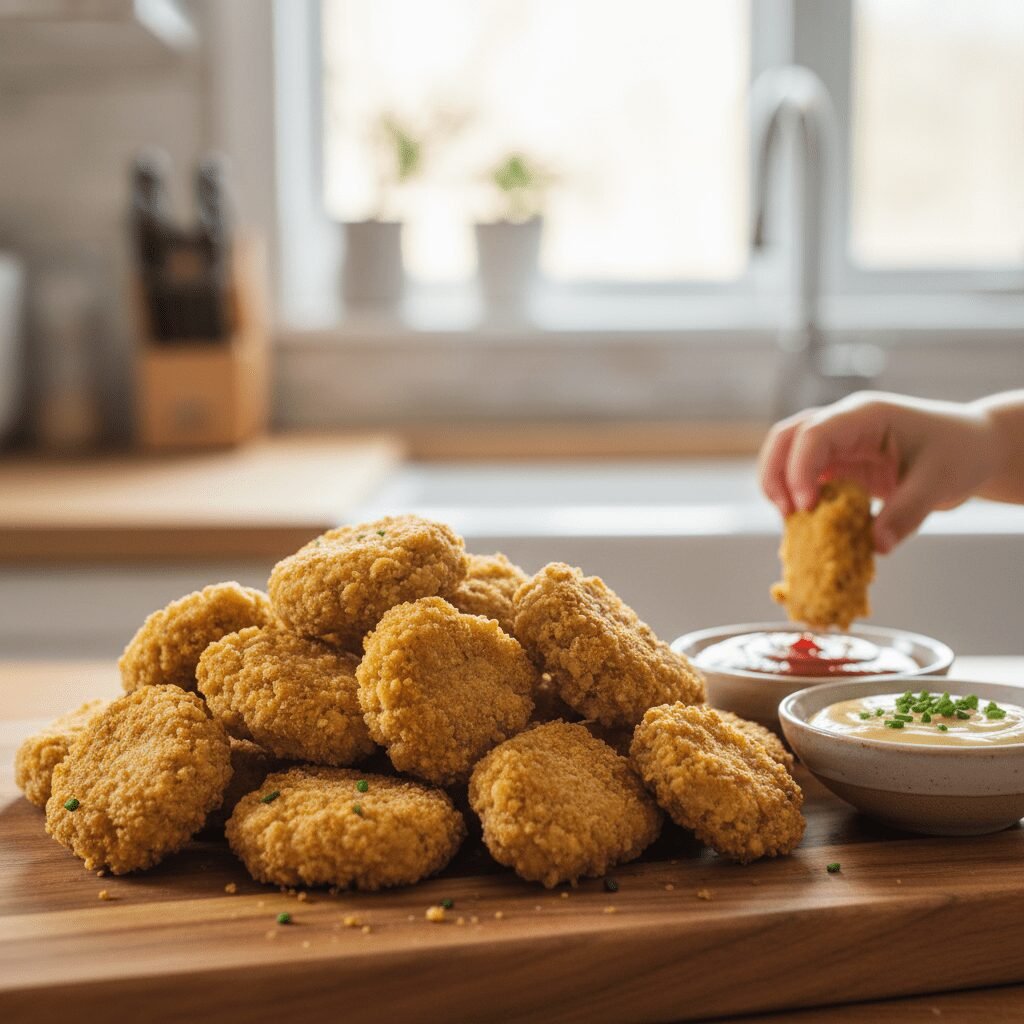
- Serve Warm: Remove the nuggets from the oven or air fryer and let them cool for a few minutes before serving. They are best enjoyed warm with your favorite dipping sauces!
Expert Cooking Tips
- ✓Don’t over-process the chickpeas; a slightly chunky texture works best for nuggets.
- ✓Adjust seasoning to your family’s taste. A pinch of cayenne can add a subtle kick for adults!
- ✓For extra crispiness, you can toast the panko breadcrumbs lightly in a dry pan before coating the nuggets.
- ✓Ensure your oven or air fryer is preheated properly for the best crispy results.
- ✓Don’t overcrowd the baking sheet or air fryer basket; this allows for even cooking and browning.
Substitutions and Variations
If you’re looking to mix things up or cater to specific dietary needs, these chickpea nuggets are wonderfully adaptable! For a gluten-free option, simply use a gluten-free all-purpose flour blend and ensure your panko breadcrumbs are certified gluten-free (there are many great options available now!). If you don’t have nutritional yeast, you can omit it, though you might lose a bit of that savory, cheesy depth; a tiny pinch of garlic salt could help compensate. Feel free to experiment with other spices too – a touch of cumin for an earthier flavor, or a dash of chili powder for a little warmth. If you’re out of panko, regular breadcrumbs will work, but the texture won’t be quite as light and crispy. You could even try crushed cornflakes for a super crunchy, gluten-free coating!
Common Mistakes to Avoid
Even the simplest recipes can have pitfalls! One common mistake is over-processing the chickpeas. If they turn into a completely smooth paste, your nuggets might be too dense and lose that lovely texture. Aim for a slightly chunky, mashed consistency. Another error is not seasoning enough; chickpeas are quite mild, so don’t be shy with the spices! Taste the mixture before forming the nuggets and adjust if needed. Overcrowding the baking sheet or air fryer is also a big no-no, as it leads to steaming instead of crisping, resulting in soggy nuggets. Always ensure there’s enough space for air to circulate around each nugget. Lastly, not spraying with oil before baking or air frying can result in dry, pale nuggets that lack that irresistible golden crunch.
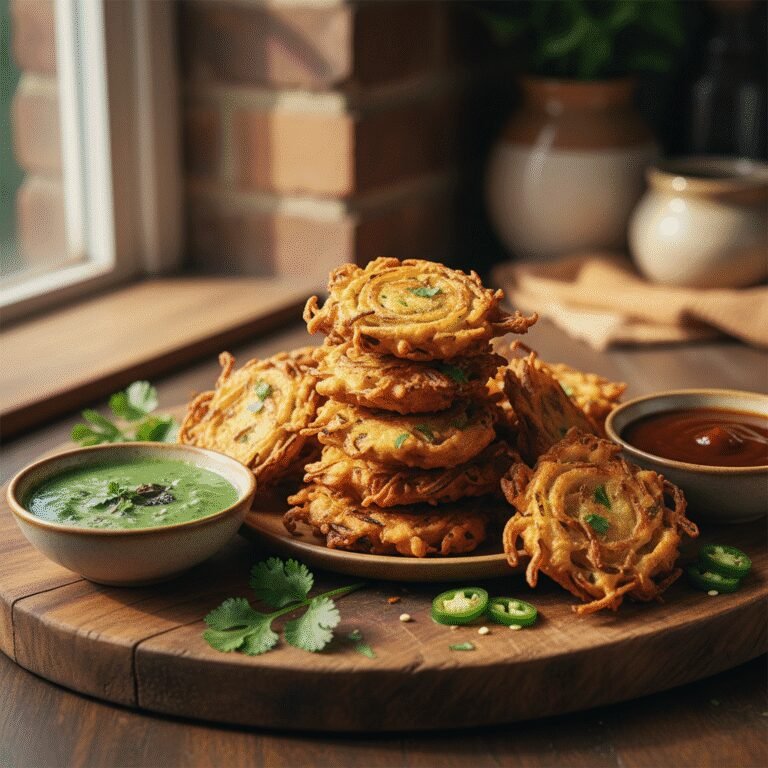
Serving Suggestions
These chickpea nuggets are incredibly versatile! For a classic kid-friendly meal, serve them with a side of sweet potato fries and a vibrant green salad. They’re fantastic dipped in ketchup, BBQ sauce, honey mustard, or even a creamy vegan ranch dressing. For a more grown-up twist, try them with a spicy sriracha mayo or a fresh tzatziki sauce. They also make a wonderful addition to lunchboxes, served cold or at room temperature, alongside some carrot sticks, cucumber slices, and a fruit salad. You can even chop them up and add them to wraps or salads for an extra protein boost!
Storage and Reheating Tips
These chickpea nuggets are fantastic for meal prepping! Once cooked and completely cooled, store them in an airtight container in the refrigerator for up to 3-4 days. To reheat, you can pop them back into the oven at 350°F (175°C) for about 10-15 minutes, or in the air fryer at 350°F (175°C) for 5-8 minutes, until heated through and crispy again. You can also freeze uncooked or cooked nuggets! For uncooked, form and coat them, then arrange on a parchment-lined baking sheet and freeze until solid. Transfer to a freezer-safe bag for up to 2-3 months. Bake or air fry from frozen, adding a few extra minutes to the cooking time. Cooked nuggets can be frozen in a single layer on a baking sheet, then transferred to a freezer bag for up to 2-3 months. Reheat as directed above.
Nutrition Facts (Estimated)
| Serving Size | 6 nuggets |
| Calories | 280 kcal |
| Fat | 10g |
| Saturated Fat | 1.5g |
| Unsaturated Fat | 7g |
| Trans Fat | 0g |
| Cholesterol | 0mg |
| Sodium | 350mg |
| Carbohydrates | 38g |
| Fiber | 8g |
| Sugar | 3g |
| Protein | 12g |
Frequently Asked Questions
Can I make these chickpea nuggets gluten-free?
Absolutely! Simply ensure you use a certified gluten-free all-purpose flour blend and gluten-free panko breadcrumbs. The rest of the ingredients are naturally gluten-free.
Do I have to use a food processor?
While a food processor makes the job quicker and easier, you can mash the chickpeas by hand with a fork or potato masher. Just make sure they are well-mashed but still have some texture.
Can I deep fry these nuggets?
Yes, you can! If you prefer deep frying, heat about 2-3 inches of oil in a heavy-bottomed pot to 350°F (175°C). Fry the nuggets in batches for 3-4 minutes per side, or until golden brown and crispy. Drain on a wire rack lined with paper towels. However, baking or air frying is a healthier alternative.
What is nutritional yeast and can I skip it?
Nutritional yeast is a deactivated yeast product that has a savory, cheesy, umami flavor. It’s often used in vegan cooking to add depth of flavor. While you can skip it, it truly enhances the ‘nugget’ flavor profile, making them more appealing. You might notice a slight difference in taste without it.
My nuggets are falling apart, what went wrong?
This usually means the mixture is too dry or not mixed enough. Try adding a tablespoon or two of water or vegetable broth to the mixture and mixing thoroughly until it holds together better. You can also add a tiny bit more flour or panko if it feels too wet.
Can I add vegetables to the mixture?
Yes, you can! Finely grated carrots, zucchini (squeezed of excess moisture), or spinach can be mixed into the chickpea base for an extra veggie boost. Just be mindful that adding too much moisture might require a bit more flour or panko to maintain the right consistency.
Are these suitable for toddlers?
Yes, they are! These nuggets are soft enough for toddlers and a great way to introduce plant-based protein and fiber. Just be sure to cut them into appropriate, bite-sized pieces for younger children to prevent choking hazards.
How can I make these spicier for adults?
For a spicier kick, you can add a pinch of cayenne pepper, a dash of chili powder, or even some finely minced jalapeño to the chickpea mixture. A spicy dipping sauce also works wonders!
Conclusion
And there you have it, my dear friends – a recipe that truly brings joy to the dinner table! These Kid-Approved Chickpea Nuggets are more than just a meal; they’re a testament to how delicious and satisfying healthy eating can be, even for the pickiest of palates. You’ve created something wholesome, homemade, and utterly delightful, proving that you don’t have to sacrifice flavor or fun for nutrition. So go ahead, pat yourself on the back, and enjoy the happy smiles around your table. Whether it’s a busy weeknight or a relaxed weekend lunch, these chickpea nuggets are sure to become a cherished staple in your family’s recipe collection. Happy cooking, and enjoy every single bite!