Classic Ground Beef Stuffed Peppers That Won’t Get Soggy
Classic Ground Beef Stuffed Peppers That Won’T Get Soggy
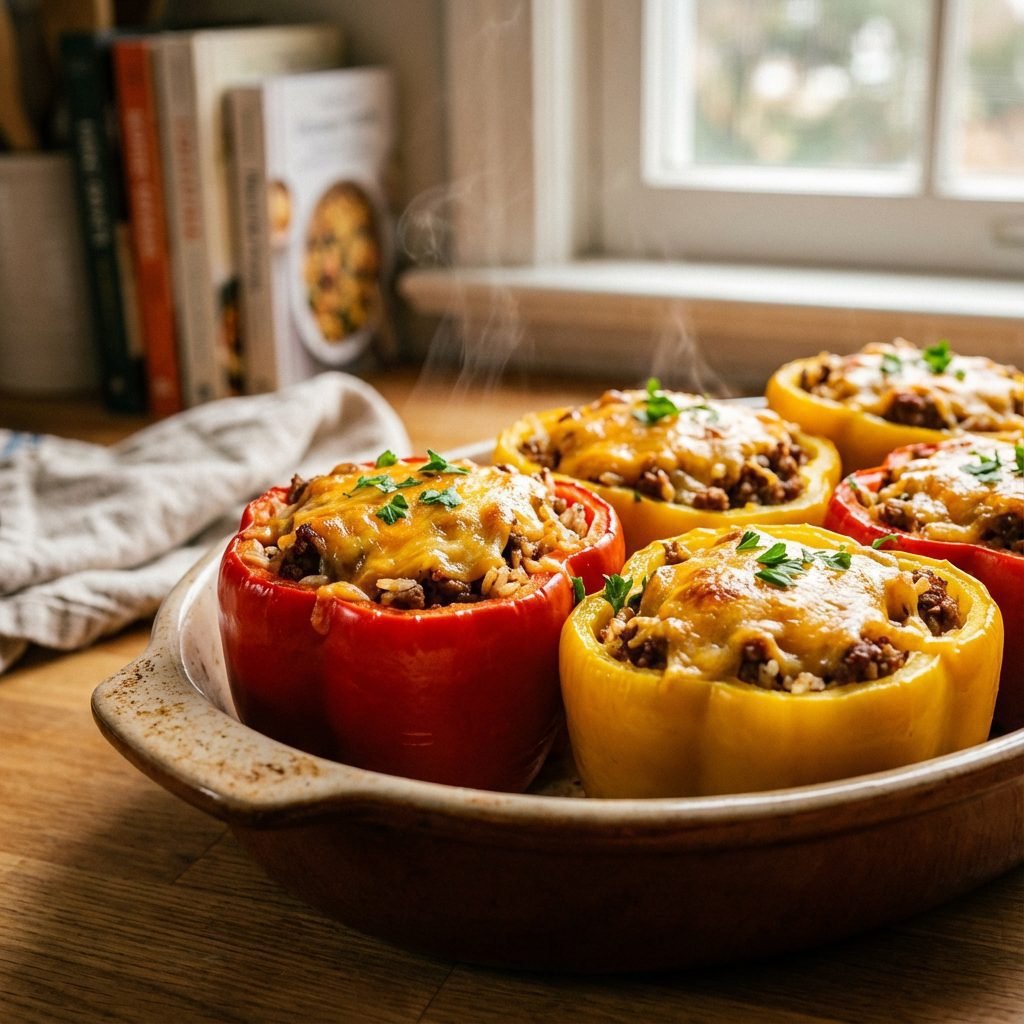
Stuffed peppers are the quintessential comfort food—a complete, satisfying meal neatly packaged in a vibrant, edible bowl. They evoke a sense of nostalgia and wholesome home cooking. However, this beloved classic has a notorious flaw: the dreaded soggy, watery bottom. Too often, an otherwise perfect pepper becomes a victim of its own moisture, turning the final dish into a lackluster, soupy mess. But it doesn’t have to be this way. We’ve cracked the code to achieving perfectly tender-crisp peppers with a rich, flavorful filling every single time. The secret is a simple but game-changing pre-baking step that releases excess water from the peppers before they’re stuffed. This ensures the pepper holds its structure and the filling remains robust and hearty, not diluted. This recipe will guide you through creating classic ground beef stuffed peppers that are structurally sound, deeply flavorful, and completely free of sogginess, restoring this dish to its rightful place as a weeknight champion.
25 minutes
50 minutes
1 hour 15 minutes
Serves 6 (6 pepper halves)
Main Course
Baking
American
Gluten-Free
Why You’ll Love This Recipe
- Guaranteed No-Soggy Method: Our pre-baking technique ensures a firm pepper structure.
- Rich and Savory Filling: A classic combination of ground beef, rice, and savory tomato sauce.
- Weeknight-Friendly: A straightforward recipe that comes together for a complete meal.
- Customizable: Easily adaptable with different grains, proteins, or vegetables.
- Visually Stunning: A colorful and impressive dish perfect for family dinners or guests.
Equipment You’ll Need
- Large baking dish (9×13 inch)
- Large skillet
- Cutting board
- Chef’s knife
- Large mixing bowl
- Measuring cups and spoons
- Spatula or wooden spoon
Ingredients
- 3 large bell peppers (any color, such as red, yellow, or green), halved lengthwise and deseeded
- 1 tablespoon olive oil
- 1 lb lean ground beef (90/10)
- 1 medium yellow onion, finely chopped
- 3 cloves garlic, minced
- 1 (15-ounce) can tomato sauce, divided
- 1 cup cooked rice (white or brown)
- 1 teaspoon dried oregano
- 1 teaspoon dried basil
- 1 tablespoon Worcestershire sauce
- 1 teaspoon salt, or to taste
- 1/2 teaspoon black pepper, or to taste
- 1 cup shredded sharp cheddar or mozzarella cheese, divided
- 2 tablespoons fresh parsley, chopped (for garnish)
Instructions
- Preheat your oven to 400°F (200°C). Arrange the pepper halves, cut-side up, in a 9×13 inch baking dish.
- THE NO-SOGGY SECRET: Brush the peppers lightly with a bit of olive oil and season with a pinch of salt and pepper. Bake the empty pepper halves for 15-20 minutes. This pre-baking step allows some of their natural moisture to cook off, which is crucial for preventing a watery final dish. Remove from the oven and carefully pour out any liquid that has accumulated inside the peppers.
- While the peppers are pre-baking, prepare the filling. Heat 1 tablespoon of olive oil in a large skillet over medium-high heat. Add the chopped onion and cook until softened, about 5-7 minutes.
- Add the minced garlic and cook for another minute until fragrant.
- Add the ground beef to the skillet. Break it apart with a spatula and cook until browned all over, about 8-10 minutes. Drain off any excess grease from the skillet.
- Stir in 1 cup of the tomato sauce (reserving the rest), the cooked rice, dried oregano, dried basil, Worcestershire sauce, salt, and black pepper. Mix everything together until well combined. Remove from heat.
- Stir half a cup of the shredded cheese into the beef and rice mixture.
- Reduce the oven temperature to 375°F (190°C).
- Carefully spoon the beef mixture evenly into each of the pre-baked pepper halves. Pack the filling in gently but firmly.
- Top each stuffed pepper with a spoonful of the remaining tomato sauce, then sprinkle the remaining half cup of cheese over the top.
- Pour about 1/4 cup of water into the bottom of the baking dish (around the peppers, not on them). This creates steam and helps keep the pepper bottoms from scorching.
- Bake for 25-30 minutes, or until the filling is heated through and the cheese is melted and bubbly. For a browner top, you can broil for the last 1-2 minutes, watching carefully to prevent burning.
- Remove from the oven and let the stuffed peppers rest in the baking dish for at least 5-10 minutes. This allows them to set up and makes them easier to serve.
- Garnish with fresh chopped parsley before serving.
Expert Cooking Tips
- Choose the Right Peppers: Look for large, blocky bell peppers with a flat bottom so they sit upright in the baking dish without tipping over.
- Don’t Skip the Pre-Bake: This is the most important step for avoiding soggy peppers. Don’t be tempted to skip it!
- Use Cooked Rice: The recipe calls for pre-cooked rice. Using uncooked rice will result in a crunchy, undercooked filling, as there isn’t enough liquid or time for it to cook fully inside the pepper.
- Lean Beef is Best: Using 90/10 lean ground beef minimizes the amount of grease in the filling, keeping it rich but not oily. Be sure to drain any excess fat after browning.
- Rest Before Serving: Letting the peppers rest for a few minutes after they come out of the oven allows the flavors to meld and the filling to set, preventing them from falling apart when you serve them.
Substitutions and Variations
This recipe is incredibly versatile. For the protein, you can substitute ground turkey, chicken, or even Italian sausage. To make it vegetarian, use a plant-based ground ‘meat’ substitute or a mixture of cooked lentils and mushrooms. For the grain, cooked quinoa, farro, or cauliflower rice are excellent alternatives to white rice. Feel free to add finely chopped vegetables like zucchini, carrots, or mushrooms to the filling for extra nutrients. Any good melting cheese will work, such as Monterey Jack, a Provolone blend, or Colby.
Common Mistakes to Avoid
The most common mistake is skipping the pre-baking step for the peppers, which directly leads to a watery, soggy result as the peppers release all their liquid into the dish during the main bake. Another frequent error is using uncooked rice in the filling; it will not cook through properly. Finally, avoid overstuffing the peppers. Pack the filling firmly but don’t mound it excessively high, as this can cause the peppers to split or the filling to cook unevenly.
Serving Suggestions
These stuffed peppers are a well-rounded meal on their own, but they pair beautifully with a few simple sides. Serve with a crisp green salad with a light vinaigrette to cut through the richness. Steamed green beans, roasted asparagus, or a side of garlic bread are also excellent accompaniments. For a finishing touch, a dollop of sour cream or plain Greek yogurt on top adds a pleasant, creamy tang.
Storage and Reheating Tips
Leftover stuffed peppers can be stored in an airtight container in the refrigerator for up to 4 days. To reheat, place them in a baking dish, cover with foil, and bake at 350°F (175°C) for 15-20 minutes, or until heated through. You can also microwave individual portions. For longer storage, you can freeze them. Freeze cooked peppers in a freezer-safe container for up to 3 months. Thaw in the refrigerator overnight before reheating as directed above.
Nutrition Facts (Estimated)
| Serving Size | 1 stuffed pepper half |
| Calories | 410 kcal |
| Fat | 22g |
| Saturated Fat | 9g |
| Unsaturated Fat | 11g |
| Trans Fat | 0.5g |
| Cholesterol | 85mg |
| Sodium | 680mg |
| Carbohydrates | 28g |
| Fiber | 5g |
| Sugar | 9g |
| Protein | 26g |
Frequently Asked Questions
Why did my stuffed peppers turn out watery?
This almost always happens when the peppers are not pre-baked. Bell peppers contain a lot of water, which they release when cooked. By baking them empty for 15-20 minutes first, you allow a significant amount of that moisture to evaporate, ensuring a firm pepper and a rich, undiluted filling.
Can I make these stuffed peppers ahead of time?
Yes, this is a great make-ahead meal. You can prepare the entire dish up to the final baking step. Assemble the stuffed peppers in the baking dish, cover tightly with foil, and refrigerate for up to 24 hours. When ready to bake, you may need to add 10-15 minutes to the baking time since you’re starting from cold.
Can I use a different grain besides rice?
Absolutely. Cooked quinoa is a fantastic, high-protein substitute. Cooked farro, barley, or even cauliflower rice (for a lower-carb option) work very well. Just ensure whatever grain you use is fully cooked before you mix it into the filling.
Conclusion
With this tried-and-true recipe, you can finally say goodbye to soggy stuffed peppers for good. By embracing the simple yet transformative technique of pre-baking, you unlock the full potential of this classic comfort dish. What emerges from the oven is a masterpiece of textures and flavors: tender-crisp peppers encasing a savory, perfectly seasoned beef and rice filling, all crowned with a blanket of gloriously melted cheese. This is the stuffed pepper recipe you’ll return to again and again for a reliable, delicious, and satisfying meal.