3-Ingredient French Cheese Puffs That Taste Like Pure Luxury
3-Ingredient French Cheese Puffs That Taste Like Pure Luxury
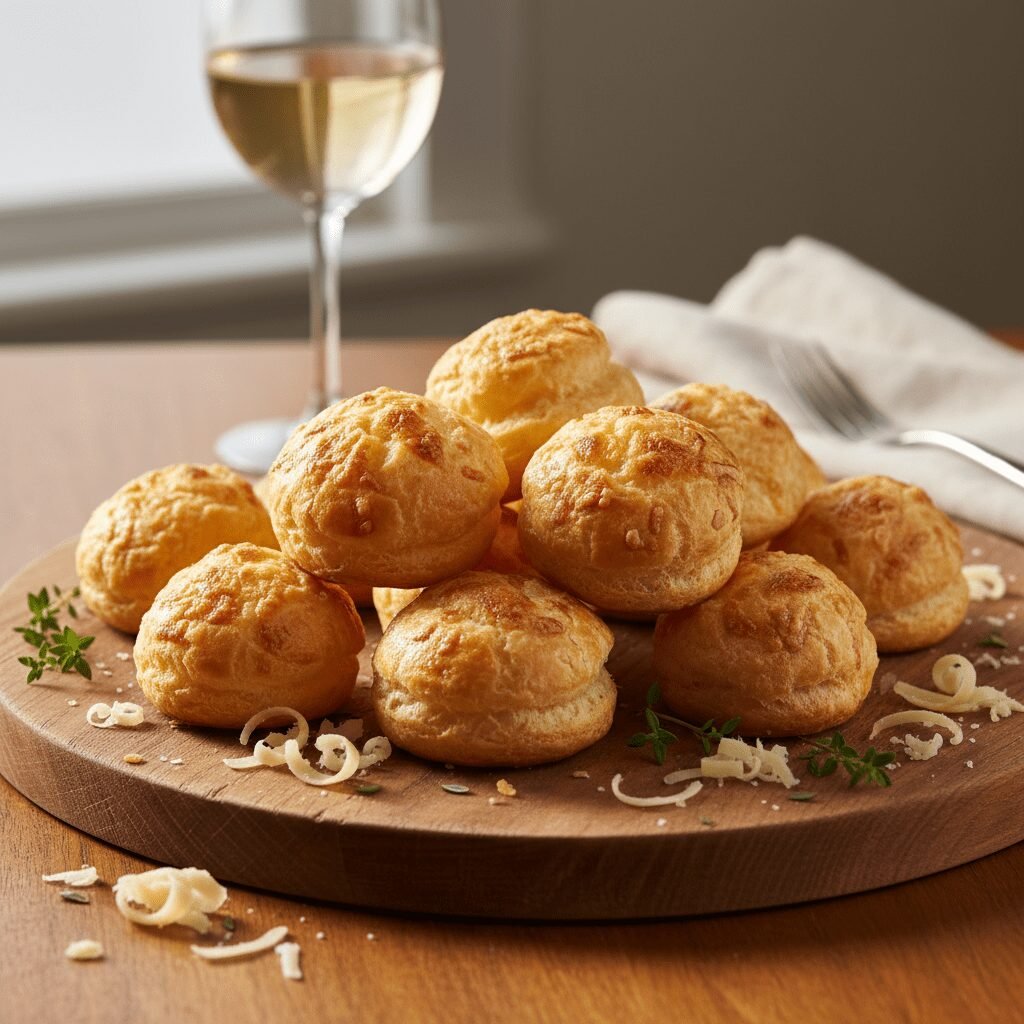
Oh, sweet friends, get ready to elevate your snack game with these unbelievably easy 3-Ingredient French Cheese Puffs! They’re light, airy, and bursting with cheesy goodness, making every bite feel like a little trip to a Parisian bistro. Perfect for impressing guests or simply treating yourself to a moment of pure bliss!
15 minutes
25-30 minutes
40-45 minutes
Approximately 24-30 puffs
Appetizer, Snack
Baking
French
Vegetarian
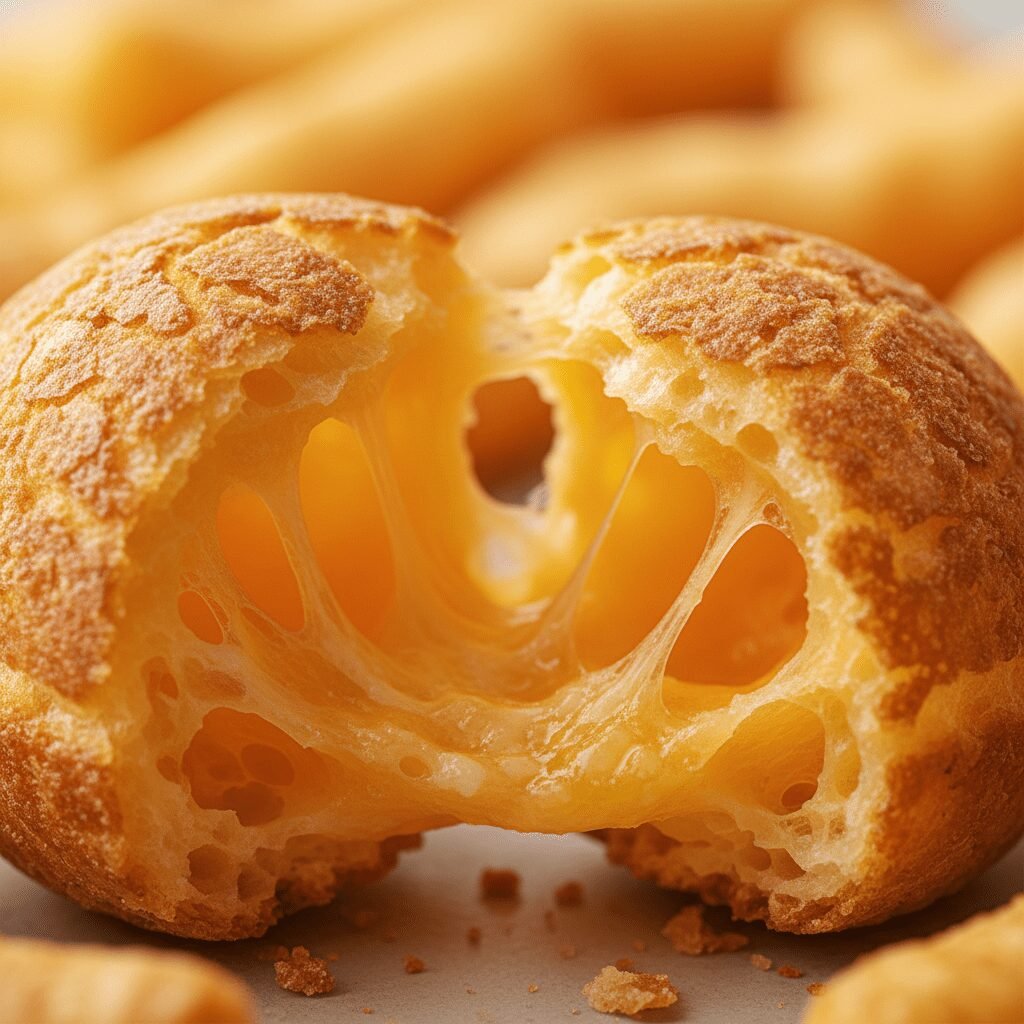
Hello, lovely mamas and home cooks! Are you ready for a recipe that feels incredibly fancy but is secretly one of the easiest things you’ll ever whip up? Because today, we’re diving into the world of French cheese puffs, also known as Gougères, and I promise you, they are going to become your new favorite obsession. Imagine a golden, airy puff, crisp on the outside, tender and hollow on the inside, with a delightful savory cheese flavor that just melts in your mouth. Sounds divine, right?
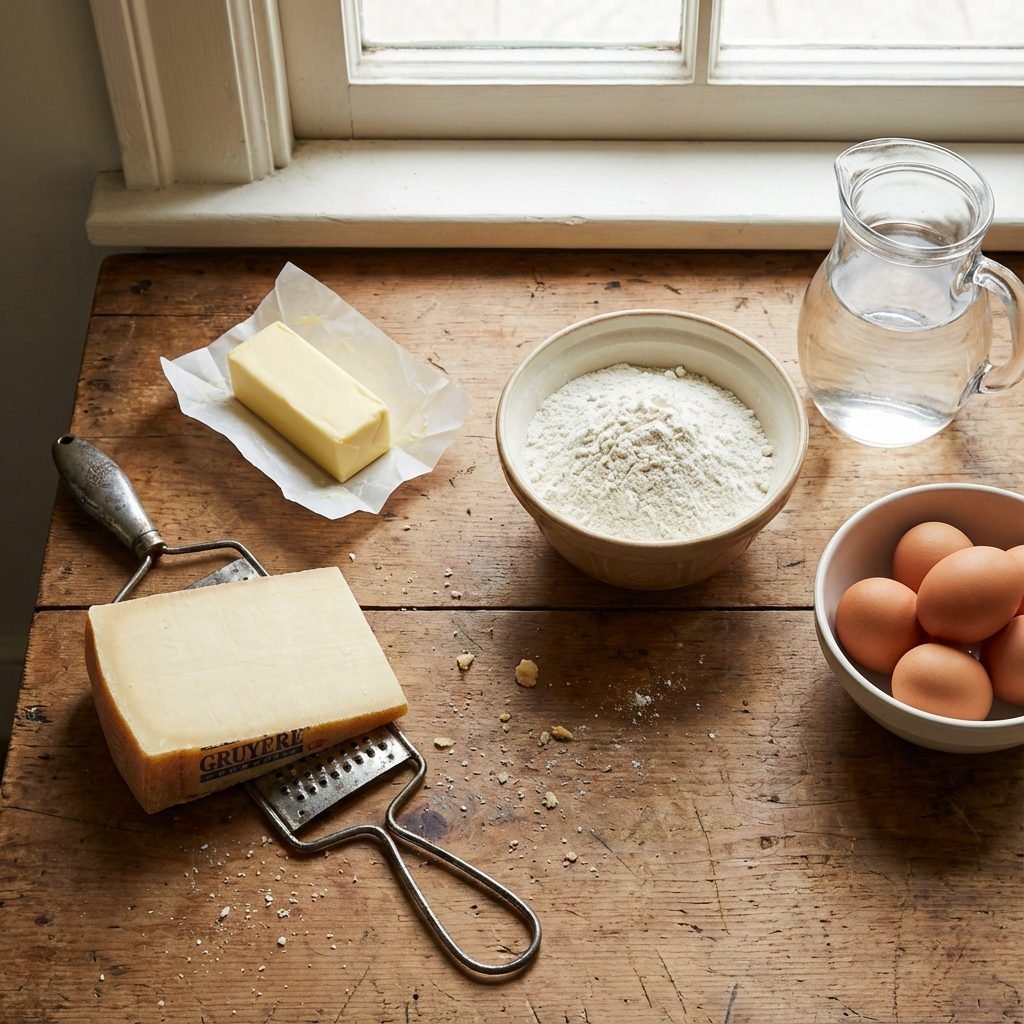
As busy moms, we’re always looking for those magical recipes that deliver maximum impact with minimal effort. We want to create beautiful, delicious food for our families and friends without spending hours slaving away in the kitchen. And let me tell you, these 3-ingredient cheese puffs are exactly that kind of magic! They require just butter, flour, and cheese (plus water and eggs, which I consider pantry staples, so shhh, it’s still practically three!). You’ll be amazed at how quickly these come together and how utterly luxurious they taste. They’re perfect for a last-minute appetizer, a sophisticated brunch addition, or even a delightful snack for movie night. Get ready to feel like a gourmet chef without breaking a sweat!
History & Origins
The elegant French cheese puff, or Gougère, has a rich history rooted in the Burgundy region of France, specifically around the 18th century. Originally, these savory choux pastry delights were often served as an accompaniment to wine tastings, particularly with local white wines like Chablis. The word ‘gougère’ itself is thought to derive from an old French word ‘gougere’ or ‘gogier’, referring to a type of cheese tart or pastry.
The beauty of the Gougère lies in its simplicity and the ingenious technique of choux pastry. Choux pastry, or ‘pâte à choux’, is a light pastry dough that puffs up dramatically when baked, creating a hollow interior perfect for holding savory fillings or, in this case, a generous amount of cheese. Over centuries, Gougères evolved from humble peasant fare to a staple in French bakeries and homes, cherished for their versatility and irresistible flavor. While traditional Gougères often include Gruyère or Comté cheese, the beauty of this recipe is its adaptability, allowing you to use your favorite cheese for a truly personalized touch. It’s a testament to timeless French culinary wisdom – proving that sometimes, the simplest ingredients create the most extraordinary results.
Why This Recipe Works
The magic behind these delightful cheese puffs lies in the science of choux pastry, which is surprisingly simple once you understand it! Here’s the breakdown:
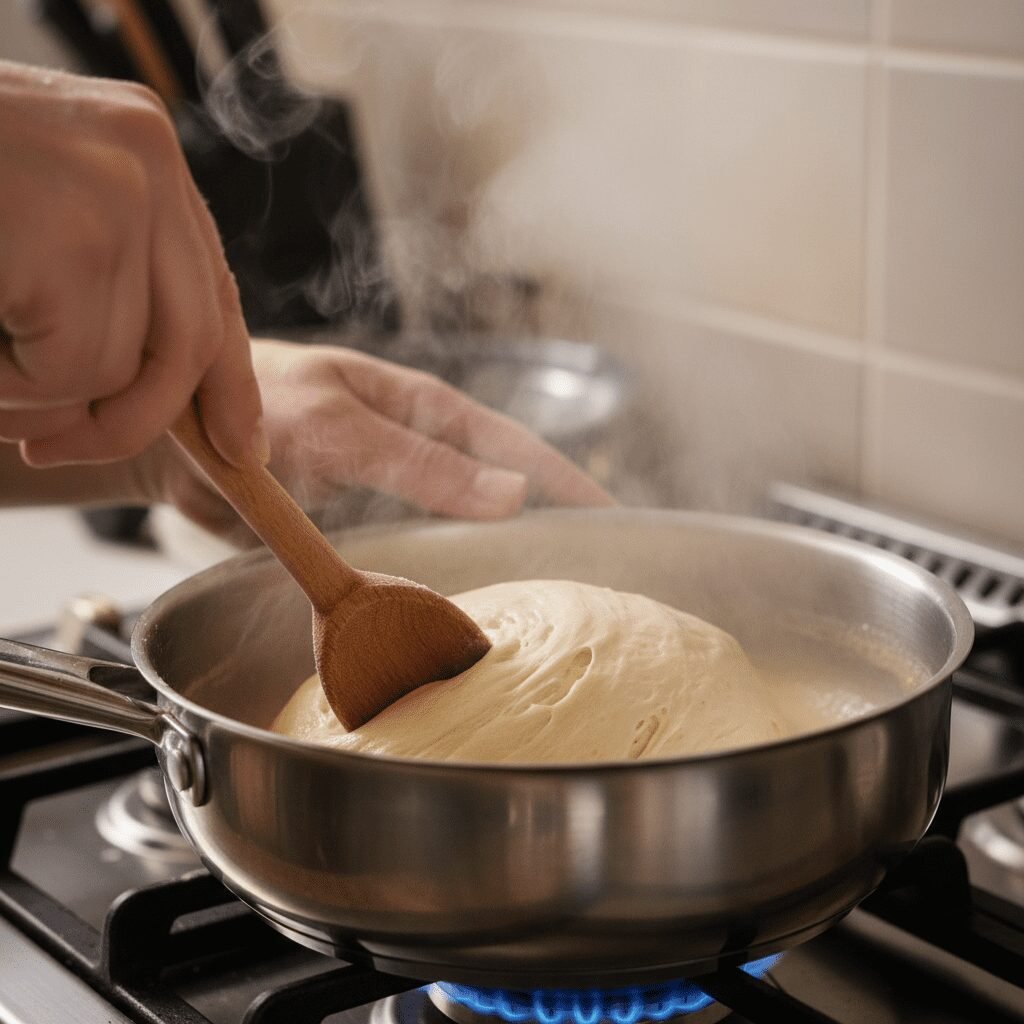
First, we start by cooking butter and water (or milk) with flour to create a ‘panade’. This step is crucial because it gelatinizes the starches in the flour, allowing them to absorb a lot of liquid. When you cook it on the stovetop, you’re essentially drying out the mixture, which is key for the next step.
Next, we incorporate eggs one at a time. The eggs add moisture, richness, and structure. They also provide the necessary protein to create a strong network within the dough. As the eggs are beaten in, the dough transforms into a smooth, glossy, and pipeable consistency.
Now for the real magic: steam! When the choux pastry hits the hot oven, the water content in the dough rapidly turns into steam. This steam gets trapped by the strong gluten network and egg proteins, causing the pastry to puff up dramatically. The exterior bakes and sets quickly, creating that wonderfully crisp shell, while the interior becomes hollow and airy. The cheese, incorporated into the dough, melts and infuses every bite with savory flavor, and some of it even crisps up on the outside, adding another layer of texture and taste. It’s a beautiful dance of heat, moisture, and simple ingredients that results in pure culinary luxury!
Why You’ll Love This Recipe
- ✓Only 3 main ingredients (plus water and eggs!) for gourmet results.
- ✓Light, airy, and cheesy – a perfect savory bite.
- ✓Impressive enough for guests, easy enough for a weeknight treat.
- ✓Versatile: customize with your favorite cheeses and herbs.
- ✓Quick prep and bake time for busy schedules.
- ✓A taste of French luxury right in your own kitchen.
Equipment You’ll Need
- ✓Large saucepan
- ✓Wooden spoon or sturdy spatula
- ✓Stand mixer with paddle attachment (optional, but helpful)
- ✓Piping bag with a large round tip (optional, for uniform puffs)
- ✓Baking sheets
- ✓Parchment paper
- ✓Measuring cups and spoons
- ✓Grater (if using block cheese)
Ingredients
- ✓1 cup water (or milk, or a 50/50 mix for richer flavor)
- ✓1/2 cup (1 stick) unsalted butter, cut into pieces
- ✓1 cup all-purpose flour
- ✓4 large eggs
- ✓1 1/2 cups shredded Gruyère cheese (or your favorite hard, flavorful cheese like cheddar, Parmesan, or Swiss), plus extra for sprinkling
Instructions
- Preheat Oven & Prep: Preheat your oven to 400°F (200°C). Line two baking sheets with parchment paper. This is key for easy cleanup and preventing sticking!
- Make the Panade: In a large saucepan, combine the water (or milk) and butter. Bring to a rolling boil over medium-high heat, stirring occasionally until the butter is fully melted. Remove from heat immediately.
- Add Flour: Add all the flour at once to the hot liquid. Stir vigorously with a wooden spoon or sturdy spatula until the mixture comes together and forms a ball. It will look a bit shaggy at first, but keep stirring!
- Cook the Dough: Return the saucepan to medium heat. Continue to cook the dough, stirring constantly and pressing it against the sides of the pan, for 2-3 minutes. This step, called ‘drying out the panade,’ is super important! You’ll see a thin film form on the bottom of the pan, and the dough will become smoother and less sticky. This ensures your puffs will be light and airy.
- Cool Slightly: Transfer the dough to a large mixing bowl (or the bowl of a stand mixer). Let it cool for 5 minutes. This prevents the eggs from scrambling when you add them.
- Incorporate Eggs: Add the eggs one at a time, beating well after each addition until fully incorporated. If using a stand mixer, use the paddle attachment on medium speed. The dough will look curdled and separated after the first egg, but keep mixing! It will come back together. The final dough should be smooth, glossy, and thick enough to hold its shape but still fall slowly from a spoon in a ‘V’ shape.
- Fold in Cheese: Gently fold in 1 1/2 cups of shredded cheese until just combined. Don’t overmix!
- Pipe or Spoon Puffs: Spoon the dough into a piping bag fitted with a large round tip (or simply use two spoons). Pipe or drop rounded tablespoons of dough onto the prepared baking sheets, leaving about 2 inches between each puff. They will expand!
- Sprinkle & Bake: Sprinkle a little extra cheese on top of each puff, if desired. Bake for 15 minutes at 400°F (200°C).
- Reduce Heat & Continue Baking: WITHOUT opening the oven door, reduce the oven temperature to 350°F (175°C) and continue to bake for another 10-15 minutes, or until the puffs are deeply golden brown and firm. This two-stage baking helps them puff up and then dry out completely, preventing them from collapsing.
- Cool & Serve: Remove from the oven and let cool slightly on a wire rack before serving. Enjoy them warm for the best experience!
Expert Cooking Tips
- ✓Don’t Rush the Panade: Cooking the flour mixture on the stovetop for 2-3 minutes is crucial. This dries out the dough, allowing it to absorb more egg and create a lighter puff.
- ✓Eggs One at a Time: Add eggs individually, beating thoroughly after each. The dough needs to fully absorb each egg before the next is added to maintain the correct consistency.
- ✓Temperature Control: Let the panade cool slightly before adding eggs to prevent them from scrambling. Conversely, ensure your oven is fully preheated to get that initial burst of steam.
- ✓Resist the Urge to Peek: Do NOT open the oven door during the first 20-25 minutes of baking. The sudden drop in temperature can cause your beautiful puffs to deflate.
- ✓Bake Until Deeply Golden: Underbaked Gougères will collapse. They should be a rich, deep golden brown and feel light and hollow when picked up.
- ✓Use Quality Cheese: Since cheese is one of only three main ingredients, choose a good quality, flavorful cheese. Gruyère is classic, but sharp cheddar or Parmesan work wonderfully too.
Substitutions and Variations
One of the best things about these cheese puffs is how adaptable they are! Don’t have Gruyère? No problem! You can easily substitute with other hard, flavorful cheeses like sharp cheddar, Parmesan, Swiss, or even a blend of cheeses. For a touch of sophistication, try a little crumbled blue cheese mixed in. If you want to add a herbaceous note, finely chopped fresh herbs like chives, thyme, or rosemary can be folded into the dough along with the cheese. For a dairy-free version, you can experiment with plant-based butter and a good quality dairy-free shredded cheese, though the texture might vary slightly. You can also use a mix of water and milk for the liquid base; milk will give a slightly richer flavor and a softer interior.
Common Mistakes to Avoid
Even though these are simple, there are a few common pitfalls to avoid to ensure your cheese puffs are perfect every time:
- Not drying out the panade enough: If the dough isn’t cooked long enough on the stovetop, it will be too wet, leading to dense, flat puffs.
- Adding eggs to hot dough: This will scramble your eggs, ruining the texture of the dough. Always let the panade cool for a few minutes.
- Not beating eggs in thoroughly: Each egg needs to be fully incorporated before adding the next to create a smooth, emulsified dough.
- Opening the oven door too soon: This is the biggest culprit for deflated puffs! The trapped steam is what makes them rise, and opening the door releases that steam and drops the temperature, causing them to collapse.
- Underbaking: Puffs that aren’t baked long enough will be soft and moist inside and will deflate as they cool. They need to be deeply golden and firm to the touch.
- Overmixing the cheese: Once the cheese is added, fold it in gently. Overmixing can develop the gluten too much, leading to a tougher texture.
Serving Suggestions
These luxurious cheese puffs are incredibly versatile! Serve them warm straight from the oven as an elegant appetizer for your next gathering. They pair beautifully with a glass of white wine or sparkling cider. For a cozy evening, they’re fantastic alongside a bowl of creamy tomato soup or a hearty French onion soup. You can also serve them as a sophisticated addition to a cheese board, or even as a delightful snack for brunch. My kids love them as a special treat in their lunchboxes (they’re still delicious at room temperature!). For an extra touch, you could serve them with a simple dipping sauce like a honey mustard or a chive sour cream dip, though honestly, they are perfect all on their own!
Storage and Reheating Tips
These cheese puffs are definitely best enjoyed warm and fresh from the oven, but if you happen to have any leftovers (a rare occurrence, I assure you!), here’s how to store them:
- Room Temperature: Store cooled cheese puffs in an airtight container at room temperature for up to 1 day. They will lose some of their crispness but will still be delicious.
- Refrigeration: For longer storage, refrigerate in an airtight container for up to 3 days.
- Freezing: You can freeze baked and cooled cheese puffs in a freezer-safe bag or container for up to 1 month.
- Reheating: To reheat, place them on a baking sheet and warm in a preheated oven at 350°F (175°C) for 5-10 minutes, or until crisp and heated through. This will help bring back some of their original texture.
- Freezing Unbaked Dough: You can also pipe the unbaked dough onto a parchment-lined baking sheet, freeze until solid, then transfer to a freezer-safe bag. Bake from frozen at 400°F (200°C) for 20 minutes, then reduce to 350°F (175°C) for another 15-20 minutes, or until golden and puffed. This is a fantastic meal prep hack!
Nutrition Facts (Estimated)
| Serving Size | 3 puffs |
| Calories | 150 kcal |
| Fat | 10g |
| Saturated Fat | 6g |
| Unsaturated Fat | 3g |
| Trans Fat | 0g |
| Cholesterol | 60mg |
| Sodium | 180mg |
| Carbohydrates | 10g |
| Fiber | 0g |
| Sugar | 1g |
| Protein | 6g |
Frequently Asked Questions
Can I make these ahead of time?
Yes! You can prepare the dough and pipe the puffs onto a baking sheet, then freeze them until solid. Once frozen, transfer them to a freezer-safe bag. Bake from frozen, adding about 5-10 minutes to the total baking time.
What kind of cheese is best for Gougères?
Gruyère is the traditional choice and offers a wonderful nutty flavor. However, sharp cheddar, Parmesan, Comté, or even a good quality Swiss cheese work beautifully. Choose a cheese with good melting properties and a strong flavor.
Why did my cheese puffs deflate?
The most common reasons for deflation are opening the oven door too early (releasing steam and dropping temperature) or underbaking. Ensure they are deeply golden brown and feel light and hollow before removing them from the oven.
Can I use milk instead of water?
Absolutely! Using milk (or a 50/50 mix of milk and water) will result in a slightly richer flavor and a slightly softer interior texture. It’s a lovely variation.
Do I need a piping bag?
No, a piping bag is optional. You can easily use two spoons to drop rounded tablespoons of dough onto the baking sheet. A piping bag just helps create more uniform shapes.
Can I add herbs to the dough?
Yes, fresh herbs like finely chopped chives, thyme, rosemary, or a mix of Herbes de Provence can be folded into the dough along with the cheese for an extra layer of flavor.
Are these gluten-free?
This specific recipe uses all-purpose flour and is not gluten-free. While choux pastry can be made with gluten-free flour blends, the ratios and technique might need slight adjustments for optimal results.
How do I know when the panade is ‘dried out’ enough?
You’ll know it’s ready when the dough forms a smooth ball, pulls away cleanly from the sides of the pan, and a thin film forms on the bottom of the saucepan. This usually takes 2-3 minutes of constant stirring over medium heat.
Conclusion
And there you have it, my dear friends! A truly luxurious, incredibly simple, 3-ingredient French Cheese Puff recipe that will make you feel like a culinary superstar without all the fuss. These little golden clouds of cheesy goodness are more than just a snack; they’re an experience, a moment of pure joy that you can easily bring into your home. Whether you’re hosting a fancy dinner party or just want to treat your family to something special on a Tuesday night, these Gougères are your answer. So go ahead, gather your ingredients, embrace the magic of choux pastry, and prepare to fall in love with these irresistible bites. Happy baking, and don’t forget to savor every single puff!